Terraform Cloud Pt.1

Lets just jump right in with some messy red arrows!
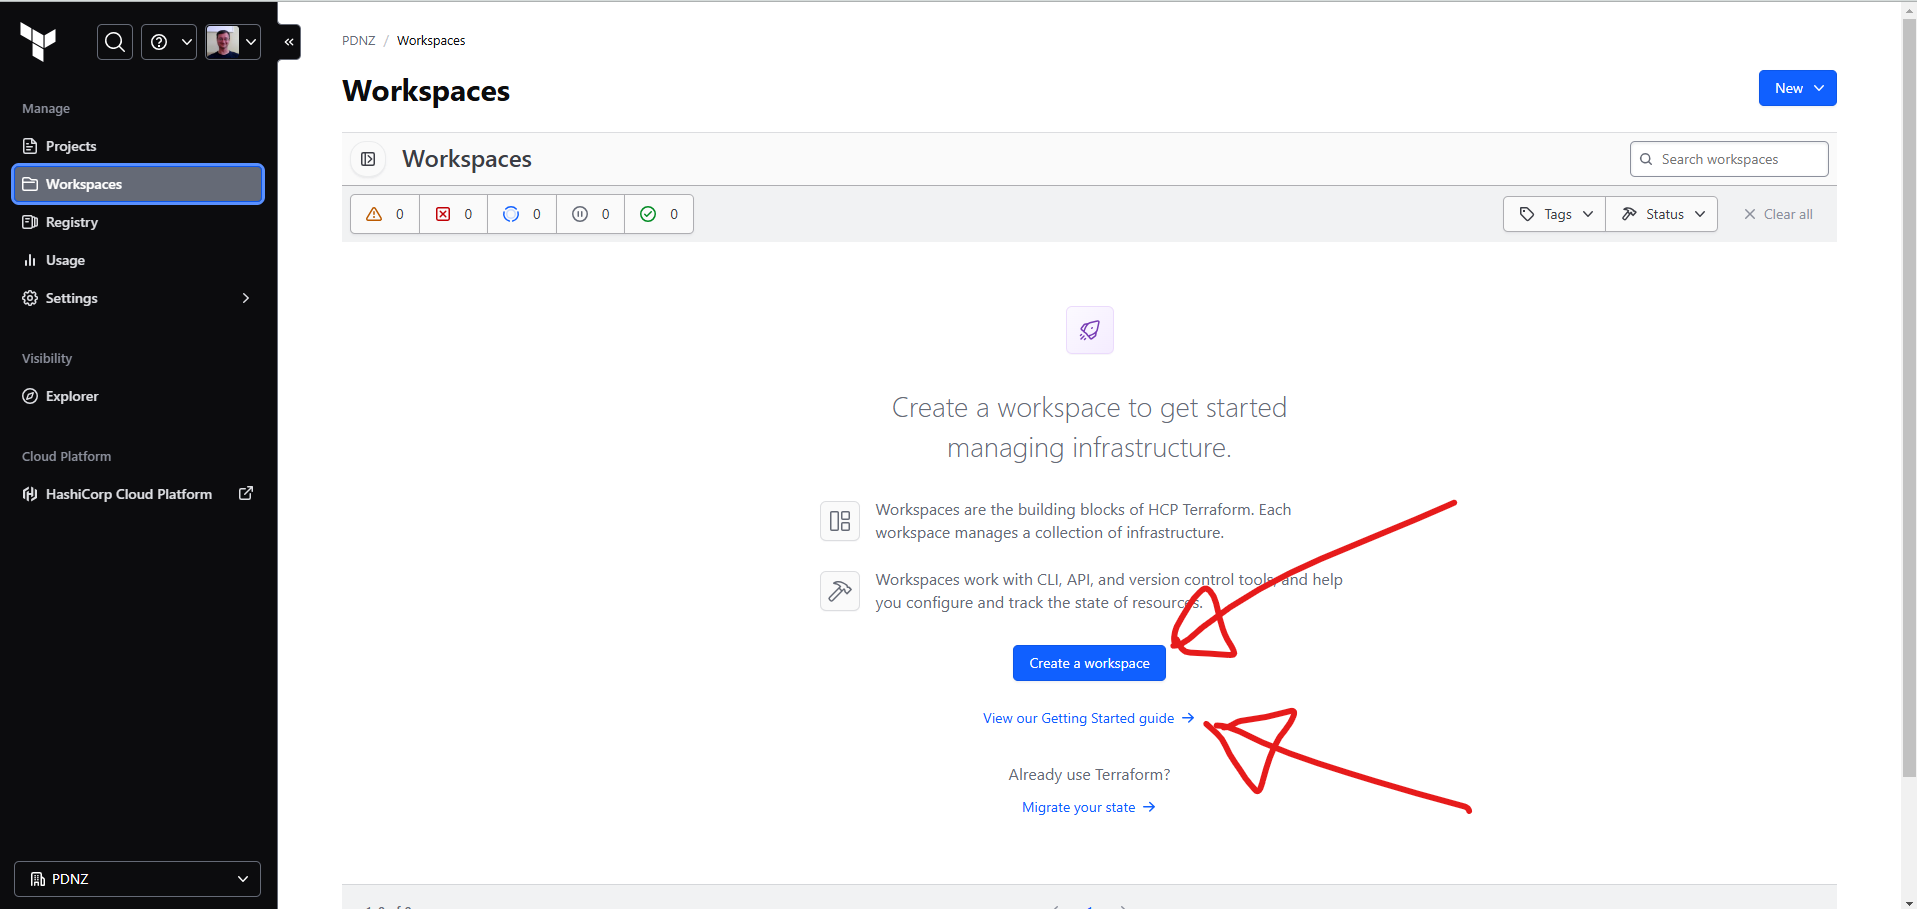
After creating your acccount and or signing in at Terraform cloud you're going to see somthing like this:
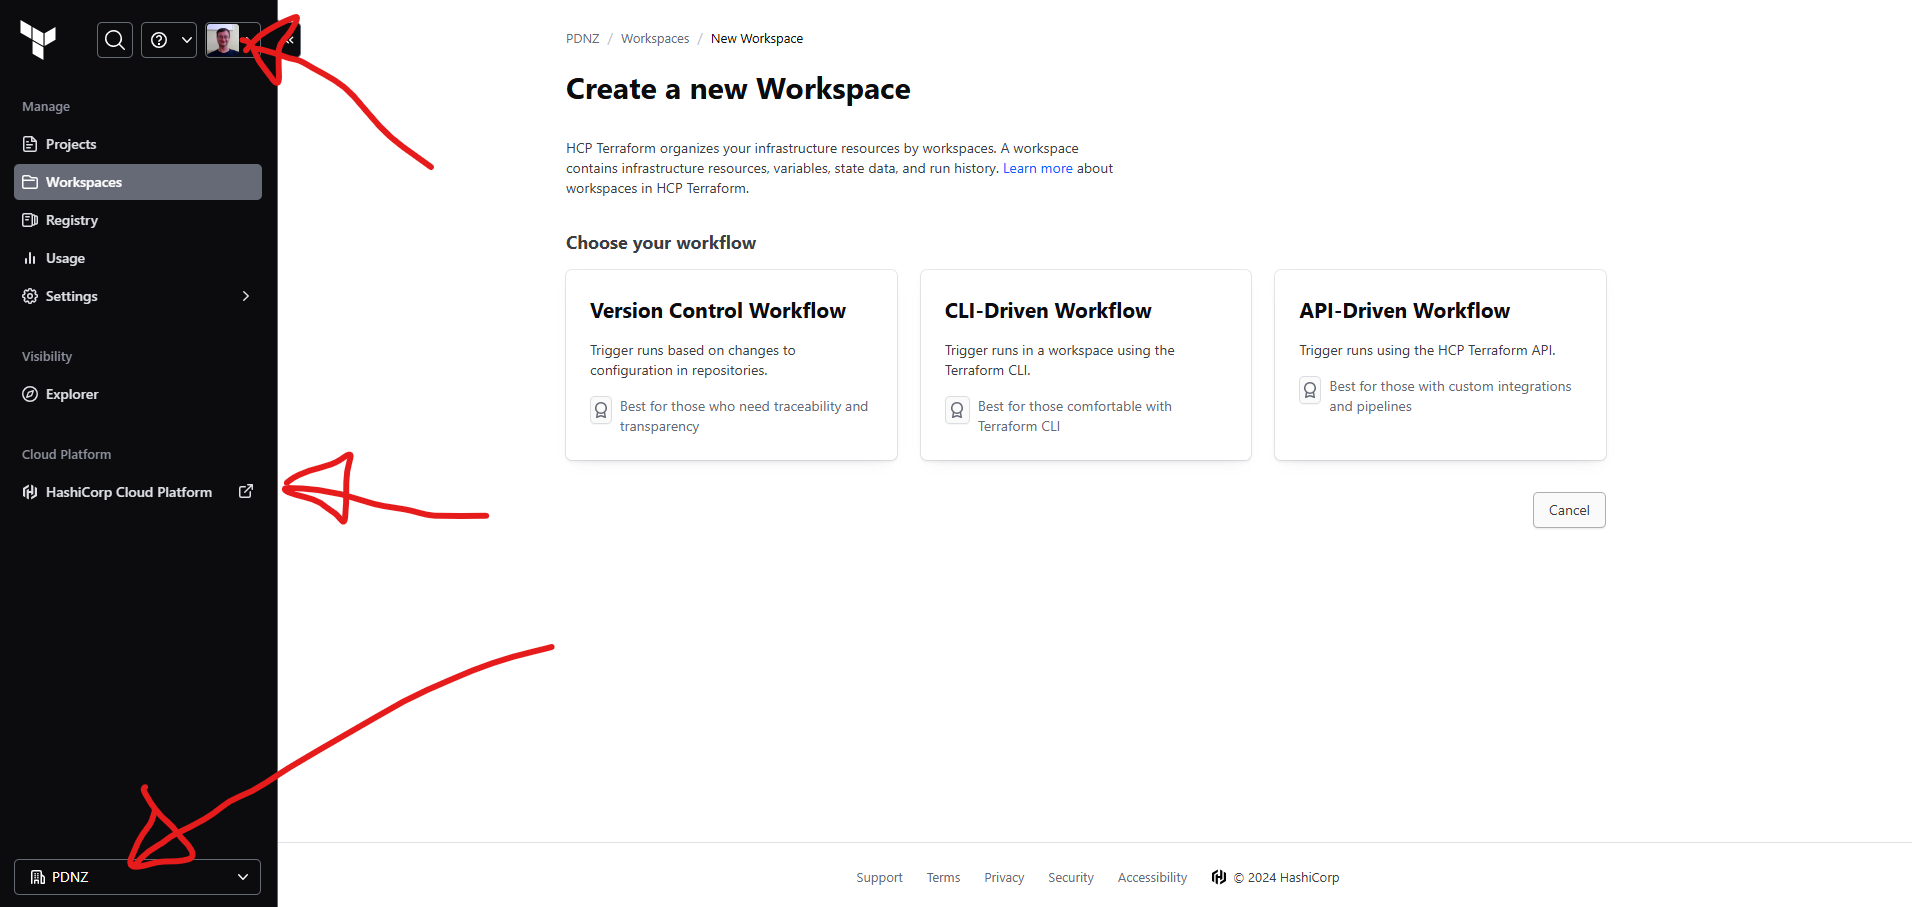 And after creating our first organisation (bottom arrow), we want to go ahead and create a new workspace for our work.
Getting Started
Worth noting that there are some great resources avalible through the Getting Started guide.
Terraform and HCP Terraform in a Nutshell
Terraform is an infrastructure as code (IaC) tool that lets you define and manage resources through configuration files, bringing consistency and automation to the infrastructure lifecycle. By managing services declaratively, Terraform reduces human error and allows you to automate infrastructure updates.
HCP Terraform enhances this by running Terraform in a secure, cloud-hosted environment. It provides benefits like state storage, integration with version control, and a private registry for sharing modules. Paid features include cost estimates, access controls, and policy enforcement, making it ideal for team collaboration on infrastructure projects.

HCP Terraform Workflows Overview
In HCP Terraform, resources are managed within workspaces, each containing resource configurations, variables, and state files. HCP Terraform supports three key workflows:
CLI-driven Workflow:
Standard Terraform CLI commands trigger operations in HCP’s remote environment, adding security and visibility with minimal setup changes.
VCS-driven Workflow:
Integrates with version control to trigger Terraform runs on repository updates. Speculative plans for pull requests let teams preview changes, while merges initiate runs to apply updates.
API-driven Workflow:
Allows custom tooling to programmatically interact with HCP Terraform for dynamic infrastructure control.
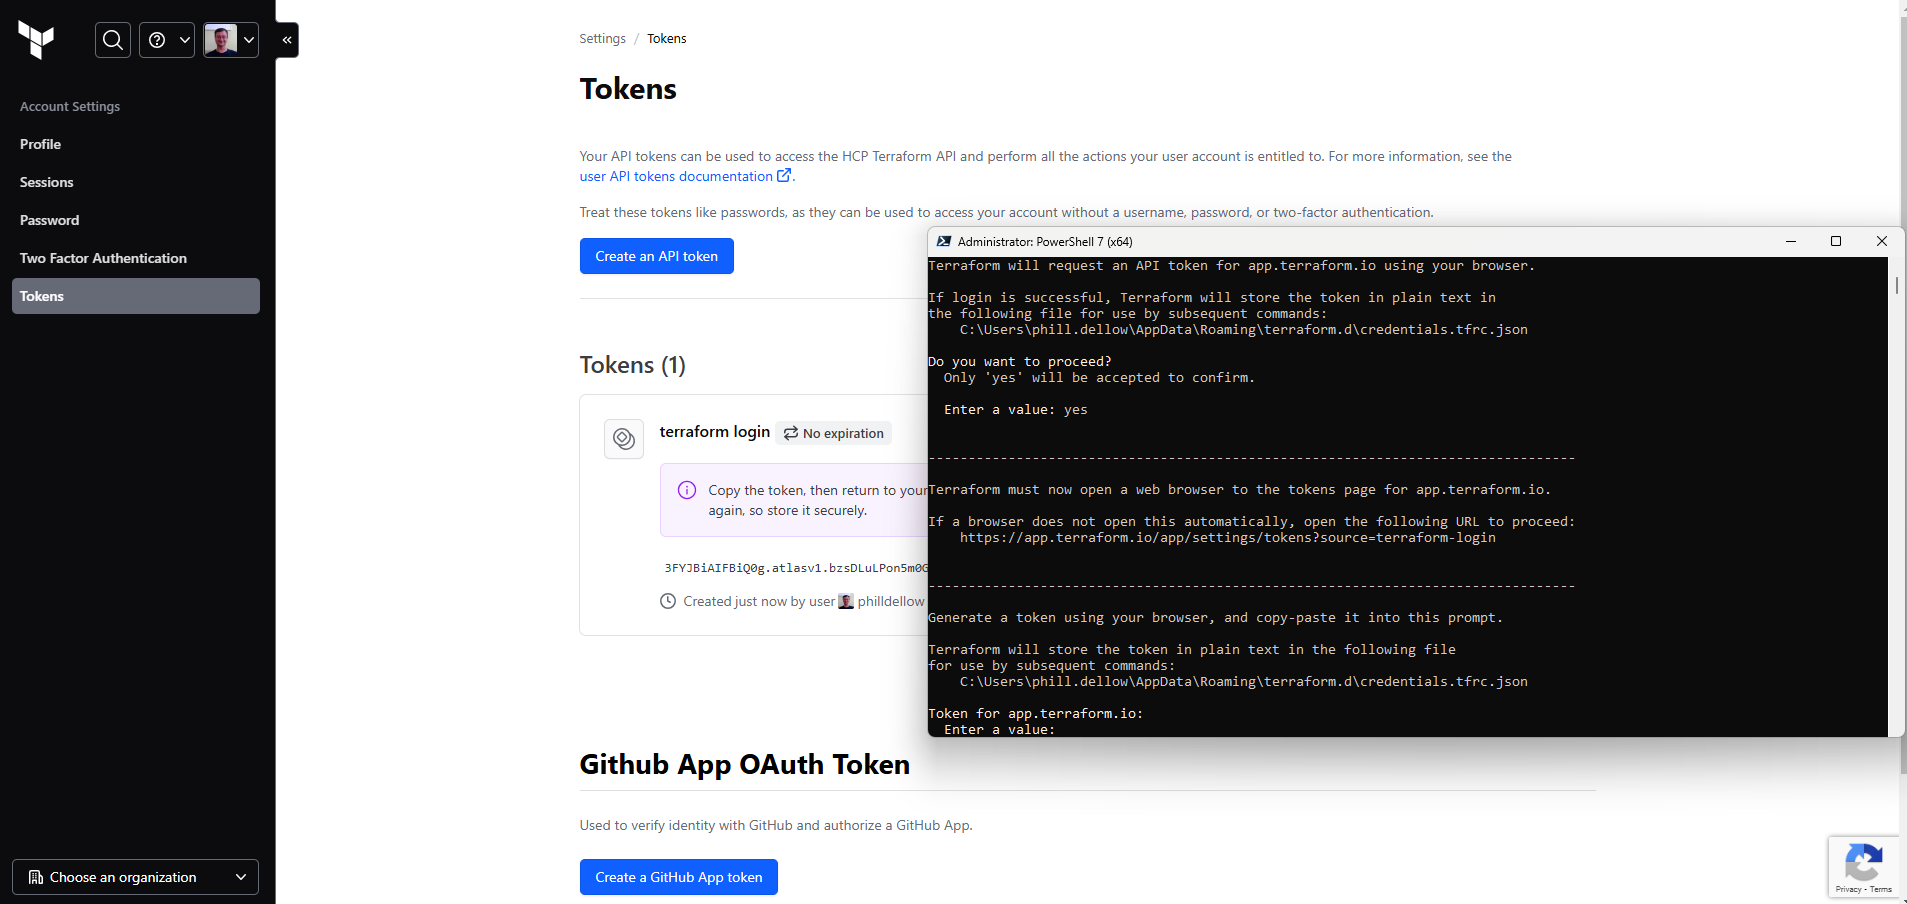
Log in to HCP Terraform from the CLI
So we probably need to
choco install terraform
or at least
choco upgrade terraform
Then once thats set up we have to
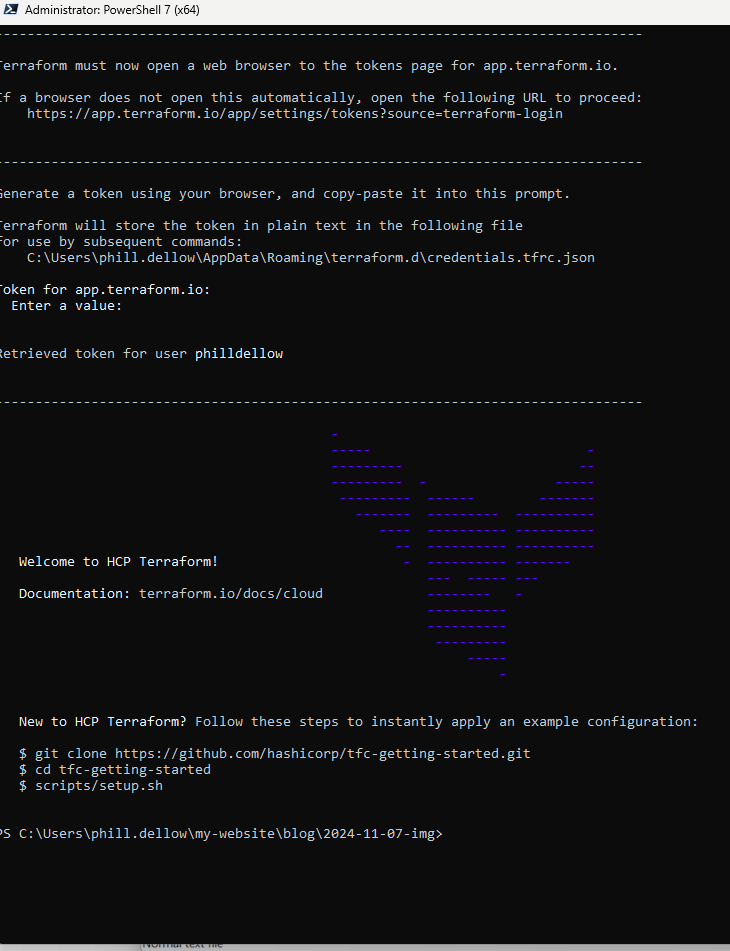
terraform login
now that is going to take us off to a browser where we cut and paste that key from the browser into our orginal window:
and it may not be raining money, but this is what sucess look like:
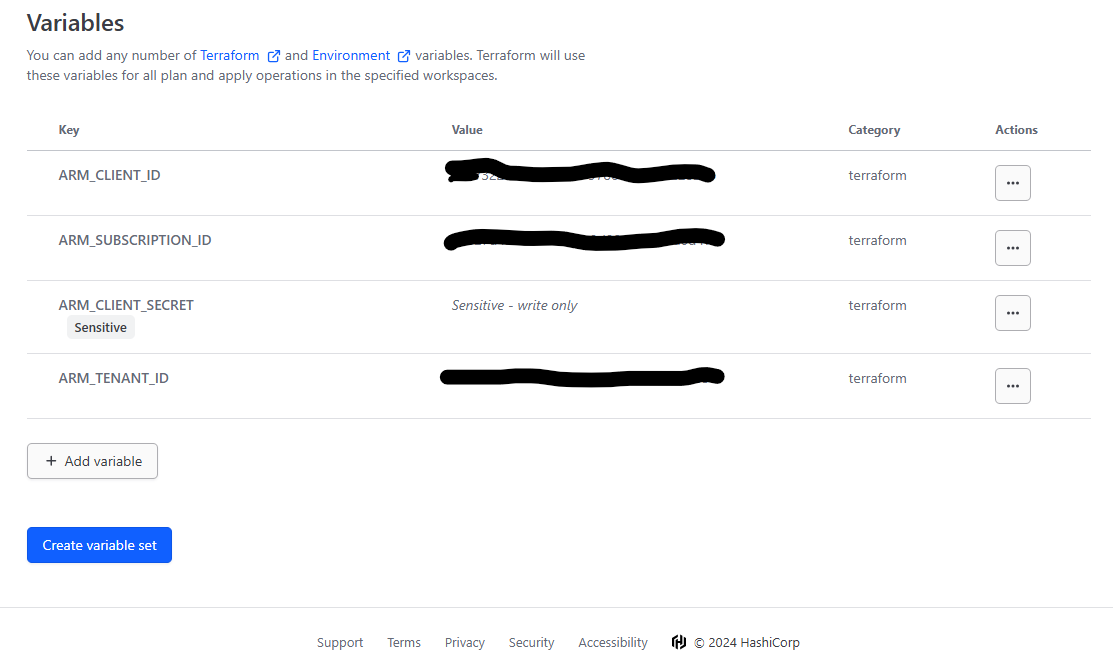
Variable Sets
HCP Terraform allows you to use workspace-specific or reusable variable sets for defining input and environment variables, standardizing configurations across workspaces. Variable sets streamline common configurations, like provider credentials, for efficient reuse and secure rotation. So in ADO it's a vartiable group, in Github actions they are secrets, but here in Terraform Cloud, they are variable sets.
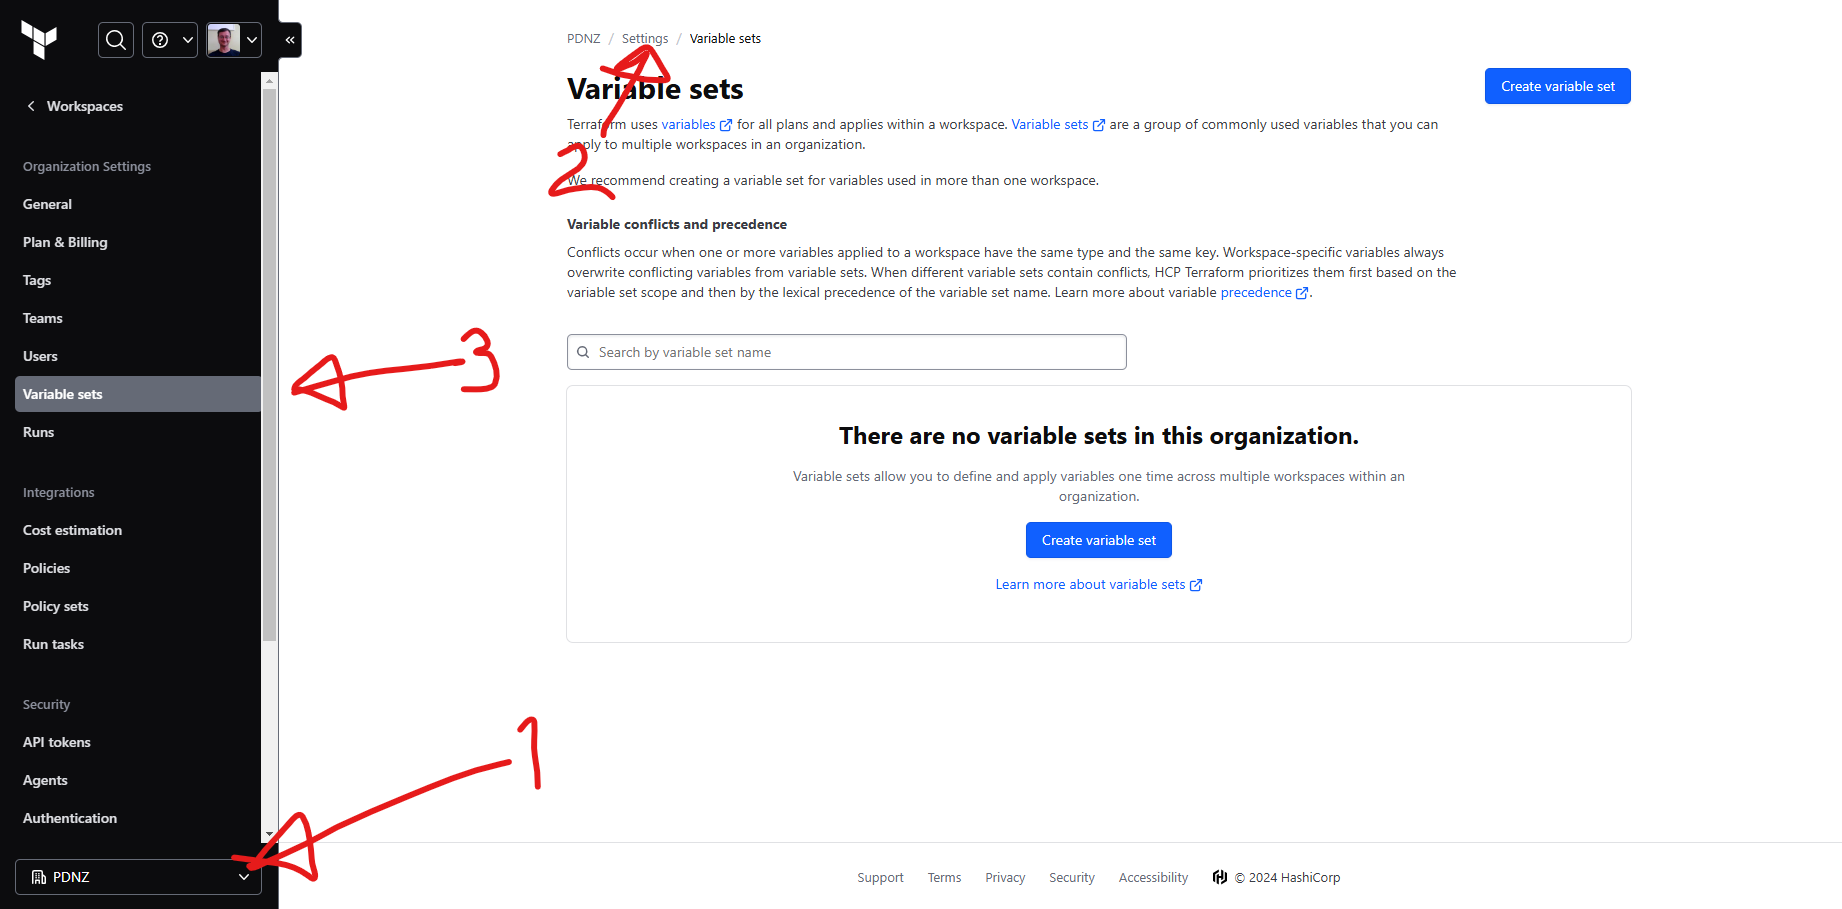
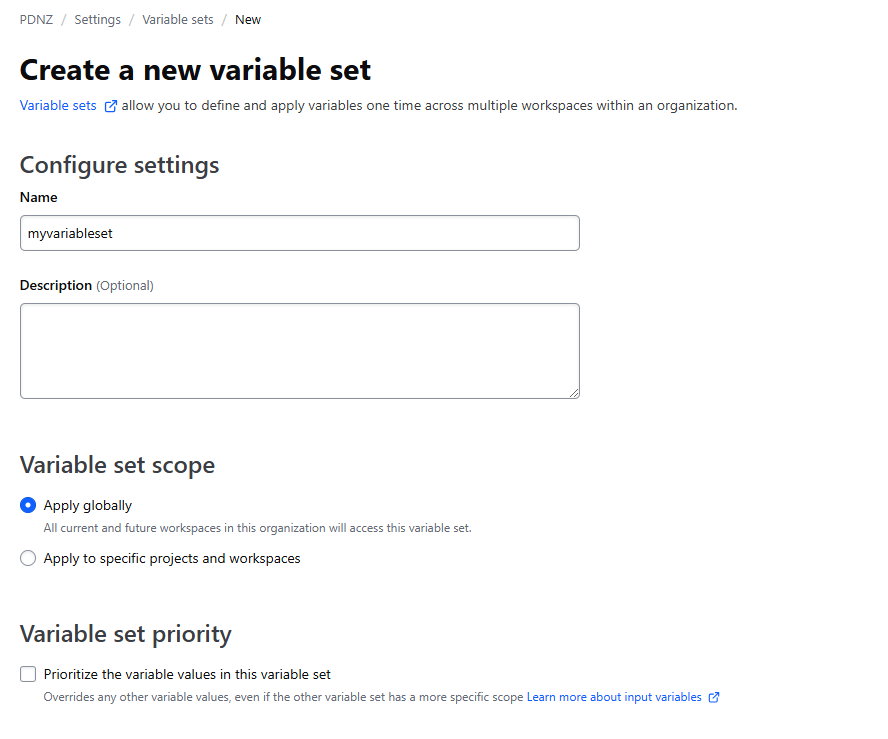
First select the Organisation, then the settings on the right hand side and then 'variable sets'. Click on 'Create variable set'
This is where I'm going to not follow the instructions here anymore, because I don't want to set up AWS.
We are going to pop over to Azure, well PowerShell at least and run a couple of little commands:
az login

az ad sp create-for-rbac --role="Contributor" --scopes="/subscriptions/<subscription-id>"
This command will output the appId, password, and tenant, which correspond to the ARM_CLIENT_ID, ARM_CLIENT_SECRET, and ARM_TENANT_ID respectively.
Now my saved variable set looks like this and is ready to be used in a global context